Printing - Windows Network Printing

1. Start at your Windows Control Panel

2. Open Devices and Printers

3. Right click and select 'Printer Properties'

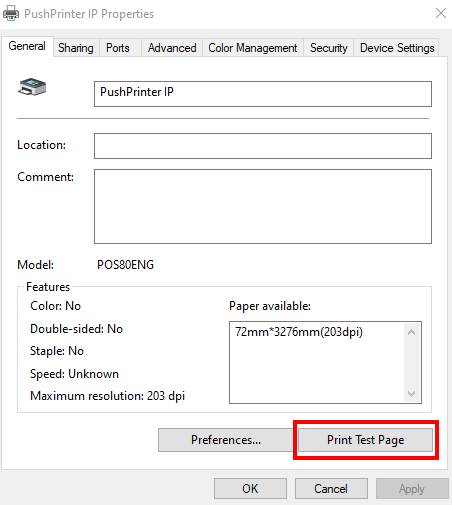
4. To test that the printer is working, please press Print Test Page

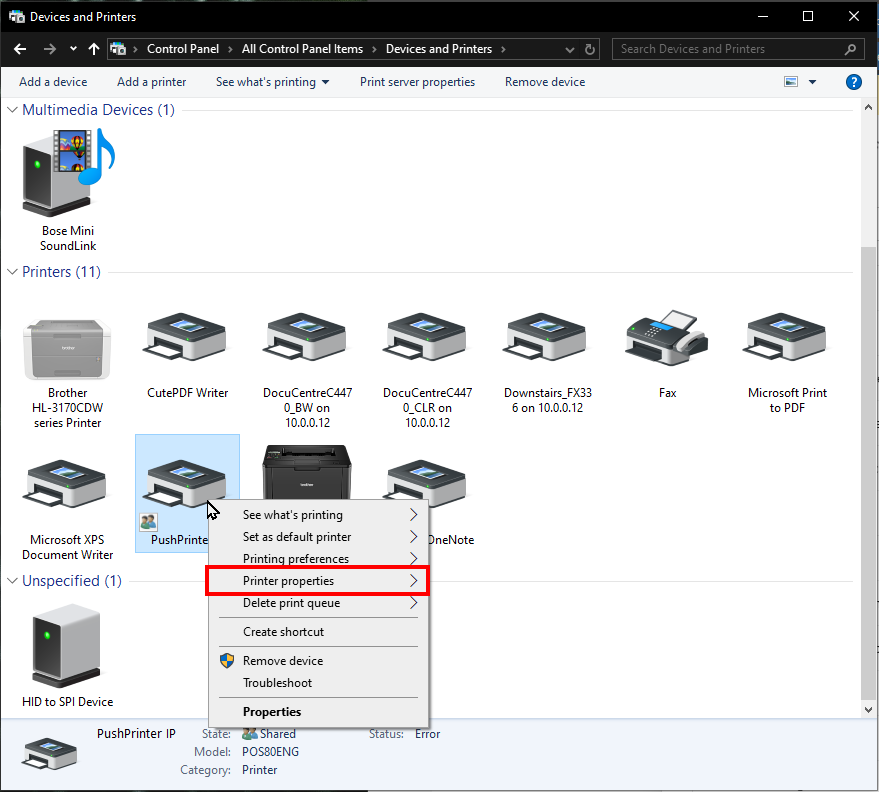
5. If the test page does not print.
Then please connect and install the printer correctly.

6. Open the PushPrinter for Windows program application

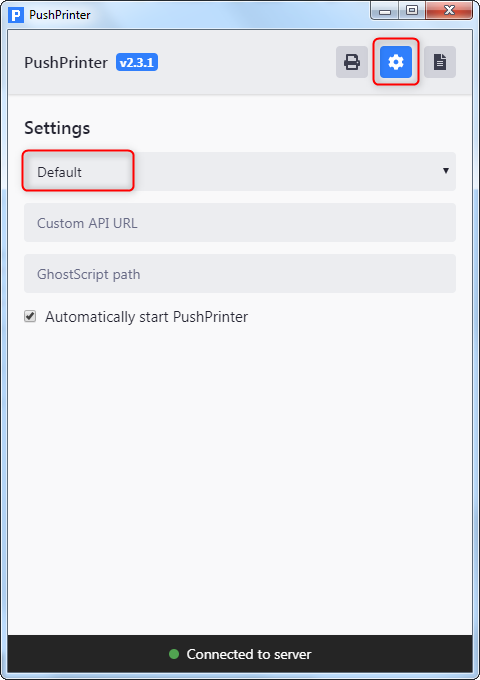
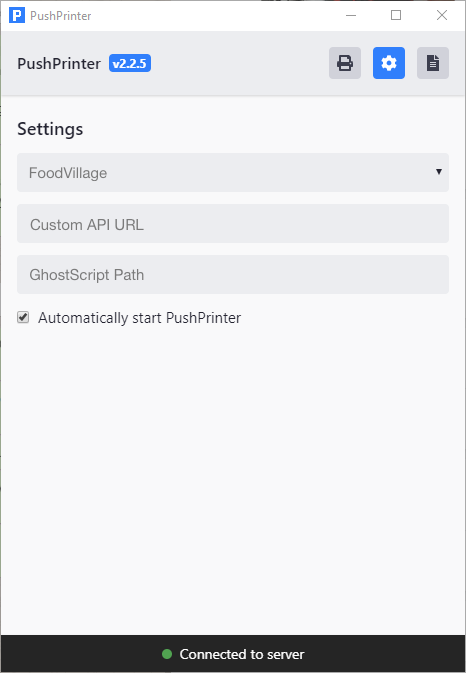
7. Go to the 'settings' cog and select the default or
FoodVillage provider profile from the dropdown list.

8. Enable 'Automatically start PushPrinter'.
(This allows the application to auto-start when resetting your machine).

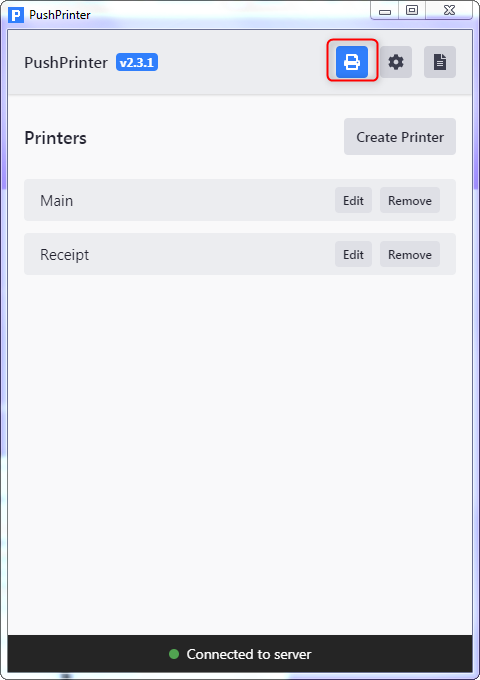
9. Press the printer button

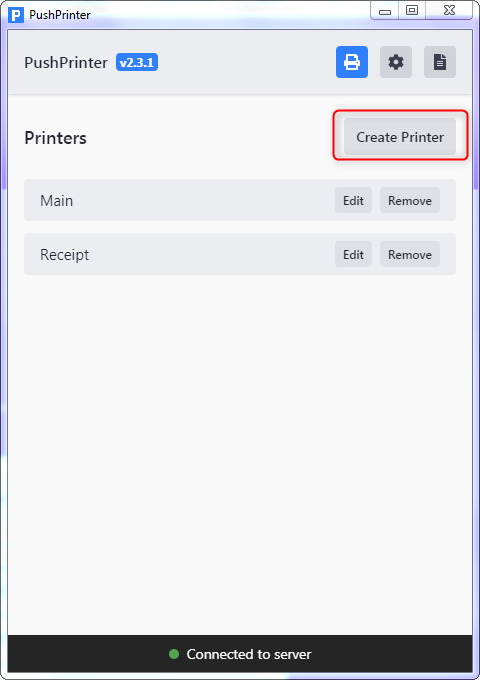
10. Using the Create Printer button, create printer

11. Add settings including API key from the printer just created.

For network printer: Name the printer. Add API printer (found in store printer settings), set number of copies, add printer IP address and set port to 9100).

Note:

  • Printer name

    This is the name that the printer will show inside of FoodVillage.

  • API Key

    This needs to be copied from the printer settings inside of FoodVillage.

  • Number of copies

    This will determine how many copies of the are printed.

  • Printing type

    This needs to be set to Windows Shared Printer (ESCPOS) for this to work.

  • Windows Share Printer Name

    This must match EXACTLY the shared printer name that was added before. You should avoid spaces and special characters.

12. Test print

13. Create printer

14. Go to your store and place a test order.